
Establishing Your Native Habitat

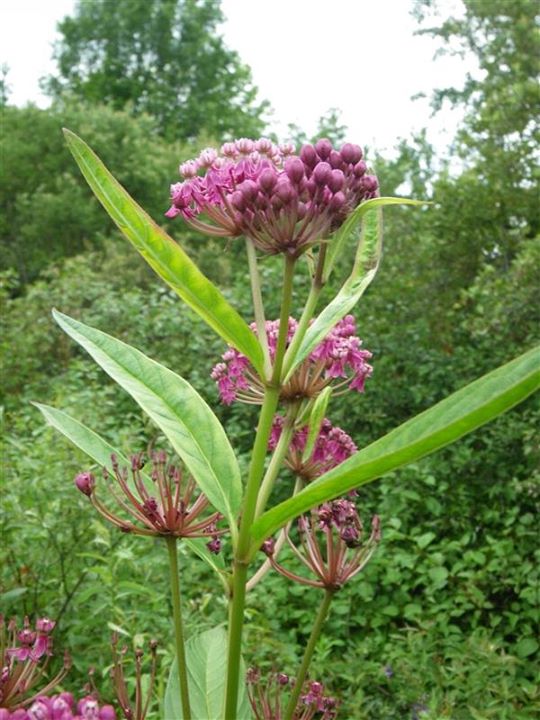
Swamp Milkweed
Put the plant where it belongs:
Plants have specific needs and requirements that if not met will result in a very poor showing indeed. Understand these requirements and pick plants appropriately. How much sun is required? What is the moisture level of the soil? How big does it get? How quickly does it spread? Common Milkweed is a beautiful plant that requires sun and dry to average soil moisture. It spreads rapidly. Put it in a wet shady spot and it will soon meet its maker. Put Swamp Milkweed in a wet sunny spot, and it will thrive. Know the areas that you wish to plant and pick plants that match the conditions. The best growing conditions are listed for each plant, shrub and tree available from Plants for Ecology. Diversity matters! Nature thrives with diversity. Include as many species as you can in your design. A greater the variety of plants will encourage a much greater variety of visitors and residents. Diversity also builds resilience in natural areas. Use of plant plugs can be an effective and cost saving method to creating that needed diversity.
Preparing the Beds
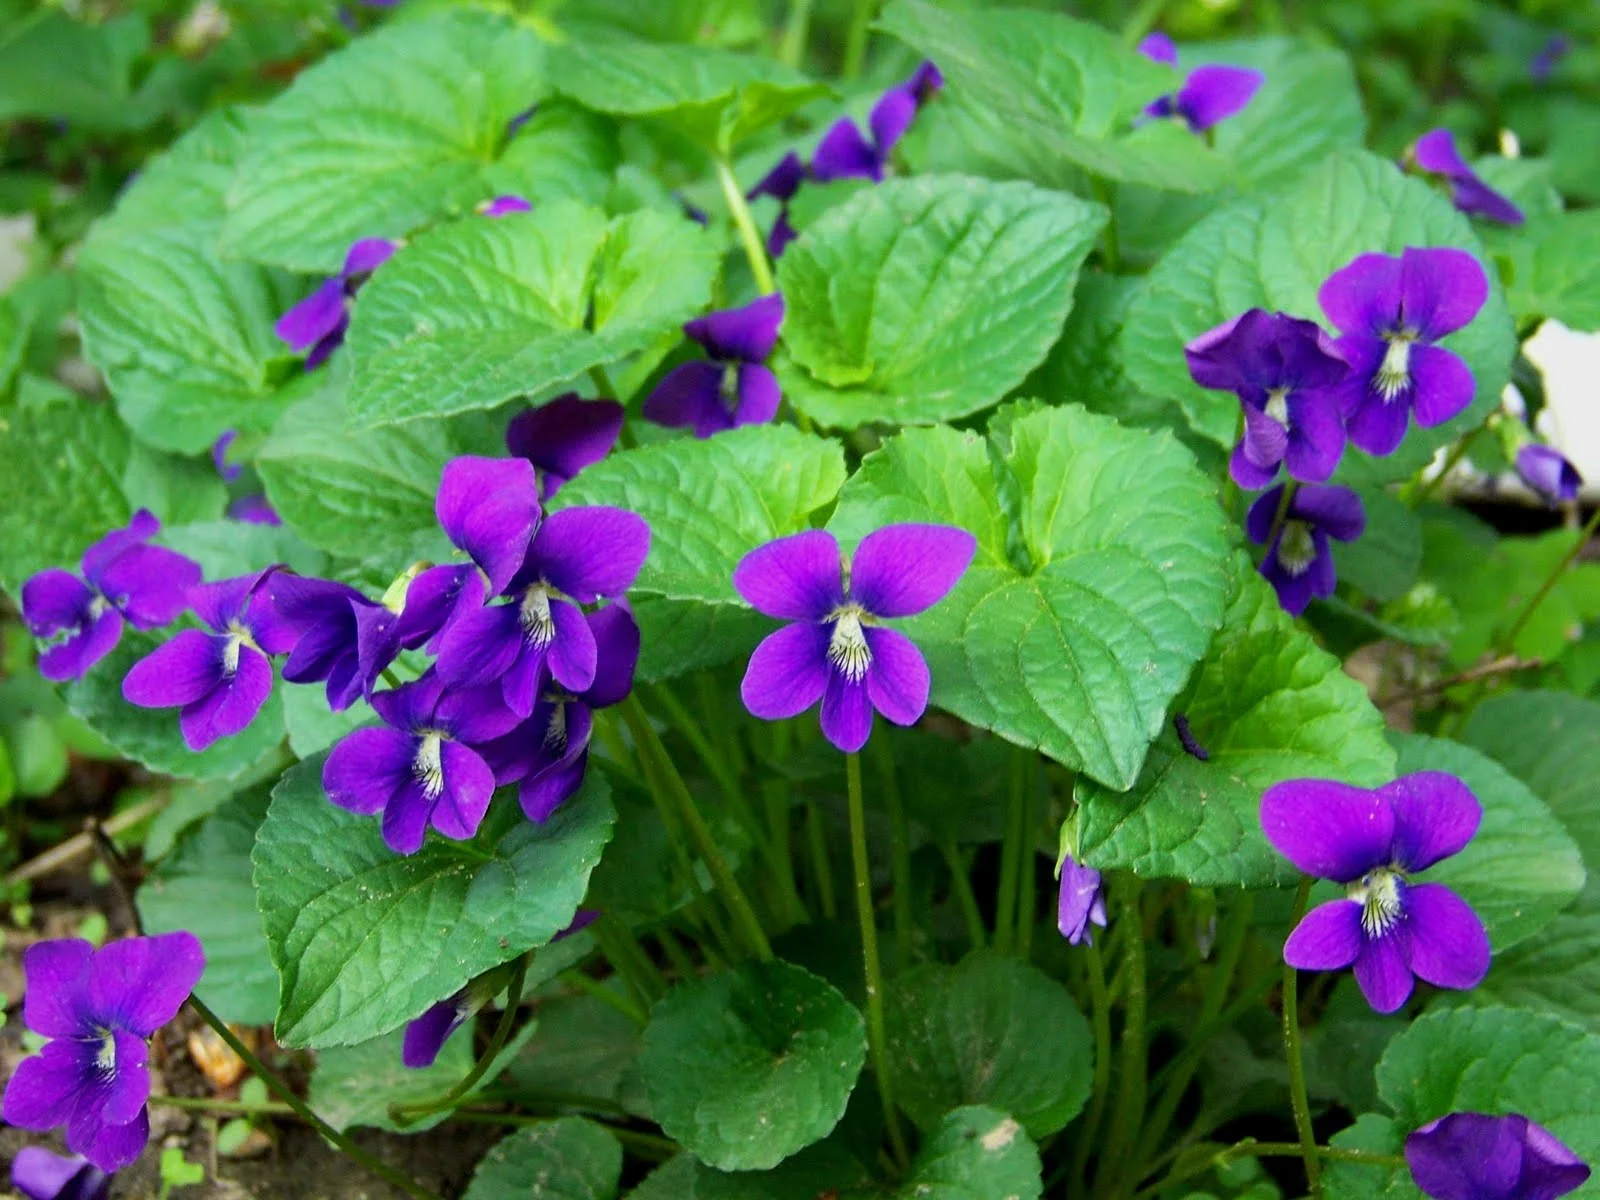
Violets
Before you start to remove plant materials, you may already have natives present. You can leave them there or you can set them aside and replant along with the other plants being installed. Shrubs and trees should be left where they are growing unless they cannot for issues of safety and being too close to a home or other building. Even small trees could have well established roots, so relocation risks killing the tree. A very common native found throughout our landscapes is the common violet. It forms a wonderful groundcover and has very pretty blue flowers. Long the bane of turf grass promoters, it is a species that should be welcomed with open arms. Areas cleared of invasive species will many times rebound nicely with a wide range of native regrowth.
Larger shrubs and trees can be difficult to remove solo, so you may want to recruit some assistance or you can hire a landscaping business to handle the removal. Make sure you are clear about what stays and what goes. Ideally, all non-native flora should be removed from the area being planted. In situations where it is very difficult to dig up existing vegetation, one may choose to smother the area with cardboard soil and mulch. Make sure vegetation is flush with the ground prior to laying down cardboard. The first layer is cardboard and then a layer of mulch is placed on top about 2-3” thick. The cardboard biodegrades in a short time but lasts long enough to kill what is underneath. If planting plugs, you can plant directly on the cardboard! Add soil to the planting area and pop in the plants without even needing to remove the cardboard. People have also found success with plastic sheeting (black) which is used to smother vegetation like cardboard, but it needs to be removed after use. A drawback to plastic is that it can negatively affect soil health by limiting oxygen in the ground. Chemical herbicides have a use in situations for which mechanical means are ineffective. For example, Bishop’s Weed (Aegopodium podagraria) is an extremely stubborn plant that can regrow from any root materials left in the soil. Imagine how difficult it would be to remove all root materials mechanically! The last thing you want is to plant an area only to see the old invasives take over again. Do not use pre-emergent herbicides and only use according to the label. Do not over-apply! For large areas of sod, sod cutters are very effective and can be rented by the hour or by the day. The removed sod can then be piled and covered in mulch, as it will break down into a very nice soil. This process is very labor intensive and it does remove organic materials from the planting area. if you do opt for sod removal, I highly recommend that mulch be placed down afterwards as a barrier to emergent weeds and as a way to rebuild the organic materials in the topsoil. Do the mulching prior to planting. Do not till the soil. Tilling disturbs and activates seeds in the seedbank which is simply the layer of soil just beneath the surface that retains the seeds of those species that were there prior to your project. Many if not most will be non-native species whose regrowth will seriously hinder your new landscape. Also limit how much you need to dig for the same reason.

Cardboard smothers turf grass, and the new bed can be easily planted the next season

Once the old plant materials have been removed, the beds should be amended with soil where the selected species will be planted. It is unnecessary to cover the whole area in soil, so just stick to where the plants will be installed and save time, labor and money! Now you are ready to plant. A rule of thumb is to make planting holes twice as wide as the root ball or container and avoid planting too deep.
Ideally you want plants to be at the soil line whereas trees need their trunk flares above the soil. You are pretty safe planting nursery grown trees at the soil line established from the container. The biggest mistake made when planting trees and shrubs is planting too deep! Make sure to keep the beds evenly moist until the new plants have established. As mentioned earlier, plugs can be planted directly on top of cardboard. Larger items will require cutting through the cardboard.
As stated above, I highly recommend mulching prior to planting. This avoids damaging plants and saves so much time otherwise spent navigating around young delicate plantings. Planting in a bed already mulched is easy. P4E recommends straw w/o seeds for the first year. It is a very forgiving material and will not smother young plants. The role of mulch is to retain soil moisture, and to add organic matter to the soil as it breaks down. If you want a more formal look, you can use hardwood mulch as well. It is very important to keep mulch away from the base of new plants as this can damage stems and trunks. Do not forget that in the fall, you will be gifted with the best mulch of all-Leaves. Fall leaves contribute organic mater to the soil, retains moisture, and creates habitat and protection for a wide range of beneficial insects and wildlife. As your garden fills out, especially if you have incorporated ground covers into your design, the need for supplemental mulch will greatly decrease. You will have created a living mulch.
It is highly encouraged that species be planted in multiples whenever possible. This increases rates of survival. In any installation, a certain percentage of plants will not make it for any number of reasons. The goal is that enough of each species will survive to the point of being self-sustaining. Planting only one of each species, for example, sets up a situation for failure. Planting in multiples is in effect setting up redundant systems. Native landscapes are essentially food that drive an ecosystem. Our goal is to make sure the demand does not out-strip the supply. It is for this very reason that Plants for Ecology encourages plants be bought in bundles whenever possible. This is especially true when planting plugs which are very cost effective but more delicate than larger potted plants.
Uses of fencing and repellants may be necessary during the establishment phase of the landscape. Herbivores can cause a lot of destruction in a newly planted habitat. Thinking long term, I recommend excluding whenever possible such visitors until the landscape can safely rebound from hungry wildlife. They can eat your neighbors Hastas until then :)
As a final step, mark the areas that you have planted, so you can track the progress of your plants. It will help you to identify the plants and help remind you that something is planted there. You do not want to dig up what you have just planted the previous season!
Formal versus “Wild”

Very old White Oak living happily in the "D"
When designing a landscape, one can choose a very formal design to a very informal arrangement (and anywhere in between). All require work, but I do believe that very formal designs are more labor intensive. I tend to use a combination. For example, I will have very defined bed lines but the beds themselves will be planted is if the flora were dispersed at nature’s providence. The size of the property matters greatly. Those with large properties will need to approach things differently than those in smaller denser communities. For example, a large shade tree may not impact the sun/shade ratio of a large property much but it will impact greatly one whose yard is small. Even so, large or small, a majestic tree like an Oak can be a wonderful anchor to one’s property and a mecca for wildlife.
Municipalities all have codes and rules that govern how property must be maintained. Generally, your property must be well maintained, and you should act like a good neighbor. A well maintained landscape is the best advertisement for native plants. There is no such thing as a maintenance free landscape. Make design cues well-recognized. Do not create obstacles to maintenance. Show observers that you used design principles for your native habitat. I strongly believe that the garden must fit the space. If you are unsure how to achieve this, reach out for help in your design.
Water

The hallow area where the leaves attach to the stem form a "cup" that holds water for thirsty visitors!
Water is an essential part of any habitat. All living creatures require water to sustain life. A reliable source of water will encourage creatures to visit and even take up residence in your square of living green. Water features can be as simple as a birdbath to as complicated as a pond and stream. Cup Plant, or Silphium perfoliatum, is very interesting indeed. It received its common name as a result of how its leaves attach to the stem, as it forms a reservoir that captures and retains water. This water is then utilized by a wide variety of wild visitors. A living water feature!
A rain garden is a special type of water feature that is designed to channel rain water and prevent it from being wasted as run-off. In simple terms, rain gardens are sunken garden beds to which water is channeled by various means, but the water does not pool.

Instead the water is utilized by the plants or becomes ground water as it percolates down to the water table. A very common method of directing water to the bed is by redirecting the downspouts on one’s home so that water flows into the rain garden. Although water does not pool, rain gardens are very moist, so plants that love their roots to be very moist are ideal for such a garden feature. Eupatorium perfoliatum, or Boneset, is an ideal plant for a rain garden. Plants for Ecology has a list of plants that will do great in a rain garden.
If you are a property owner who has naturally occurring water features such as wetlands, ponds, steams/rivers, or lakes, then you are in a very special and wonderful situation, as this gives you a great opportunity to create an incredible natural habitat. The creation of buffer zones or riparian borders is an excellent way to protect water quality and create dynamic habitats. These borders filter extra nutrients and pollutants before they reach the water, and they also stabilize the banks and protect against erosion. Property owners who have these special features on their landscape have a responsibility to act wisely and protect them. There are also state and municipal regulations that govern and protect these waterways. For those wishing to plant along the water’s edge, it is very important to understand the ecology of the area, so it would be wise to consult with those who are experts in natural area management and restoration.